Tech Roundup: Easy Desktop Screenshot Tools to Simplify Your Office Life

We’ve all had to take screenshots for something—whether it’s for a presentation, procedures documentation, or to send as a link to an office buddy for a laugh. Yet so often, we need to bust out our Google search skills just to remind ourselves the easiest way to make those screenshots happen.
Well, not anymore! We’ve rounded up a few of our favorite screenshot-taking tools so you won’t have to worry about how to forever record that photo of your boss in a tutu at the company party before she takes it down.
Nimbus Screenshot
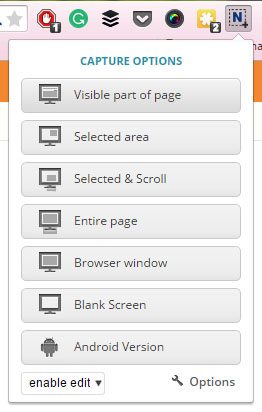
Nimbus Screenshot not only boasts a 4.5 star rating (with nearly 900 reviews), but is remarkably simple to use. This solution only comes in the form of a Firefox plugin or a Chrome extension. Once you add the software, click the icon in the top right corner of the browser and select the capture option you want to use. You can take a full capture of the page or select only the area you need to share.
Once you select the area you want captured, you can choose to edit the screenshot or simply download the image immediately. Check out some of the edit capabilities from the sample snapshot I did.

Evernote Web Clipper
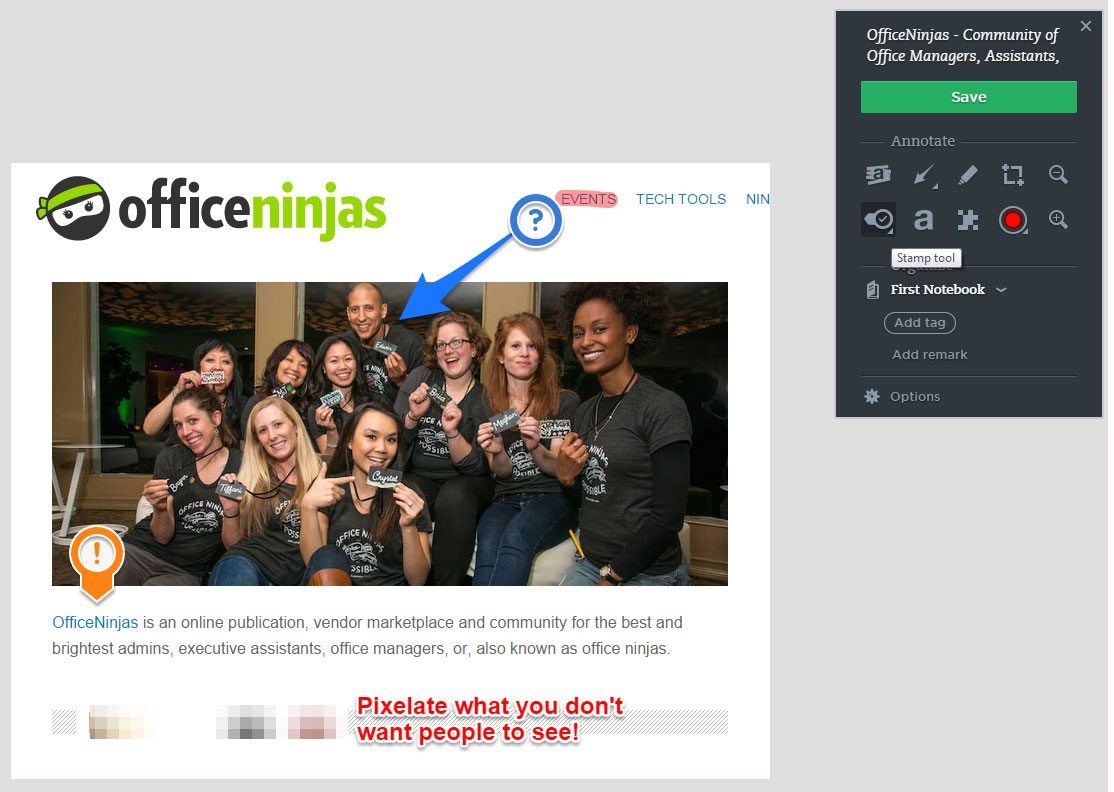
If you’re an Evernote user, you’ll probably want to get your hands on this baby. Extensions are available for Chrome, Firefox, Safari, Opera, and IE7+. Not only can you quickly and easily snap a screenshot, but you can annotate it (attractively) and send it automatically to the Evernote Notebook of your choice. Plus, once it’s saved, you can share it in any way that is easiest for you!
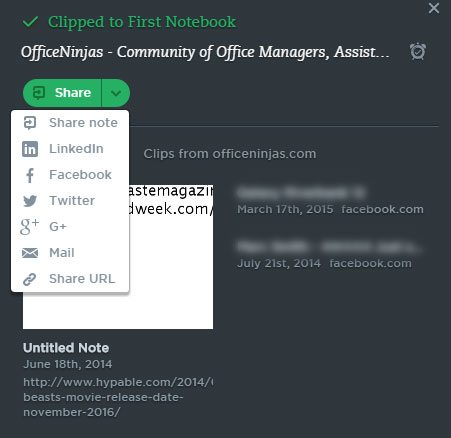
Keep in mind that you do need to have an Evernote account to use the Web Clipper, but even their free account can be life-changing, so I like to think it’s worth it. Check out what happened when I used the Evernote Web Clipper to take a screenshot:
Skitch
One downside of using extensions like Nimbus Screenshot or the Evernote Web Clipper is that they’re limited to taking screenshots from your browser program window only. So, if you have the need to capture desktop activities, you’ll want to look into Skitch, a Screenshot app for your desktop.
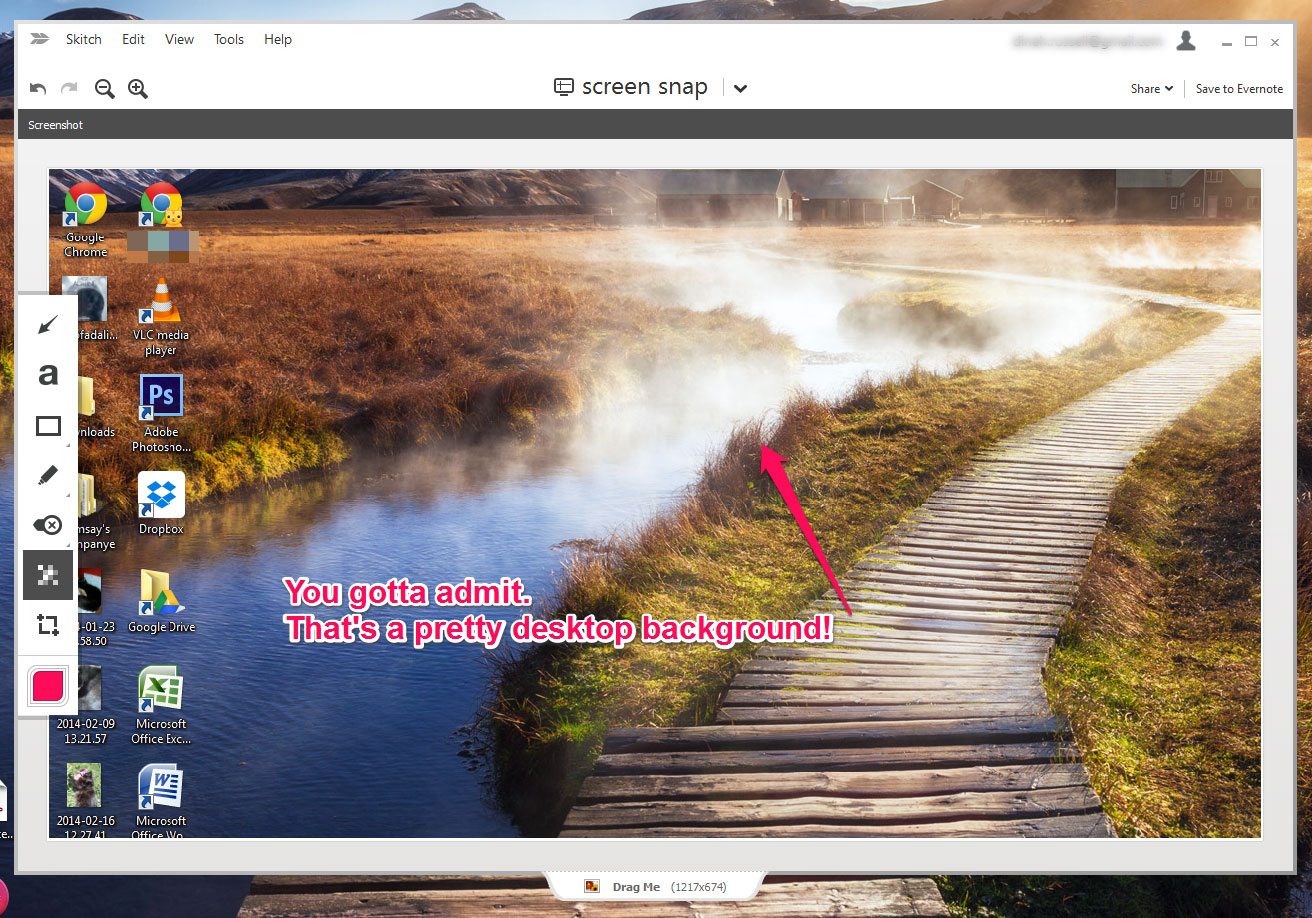
It does require downloading and installing, but from there you can log into your Evernote account and all screenshots will autosave to your account. If you’re not an Evernote user, fear not! While your screenshots won’t autosave, you can still use Skitch to your heart’s content. Just remember to manually save your screenshots when they’re ready.
With most of the same function as the Web Clipper, Skitch allows you to expand on what you can already do in your browser to your full desktop. When you’re done, you can save to your Evernote or share directly. Pretty handy, if I say so myself!
TinyTake
If you’re a Windows 7 or 8 user, you can take your desktop screenshots to the next level with TinyTake. Not only can you take screenshots and annotate them like the other solutions, but TinyTake allows you to record video.
Seriously. How cool and handy is that?
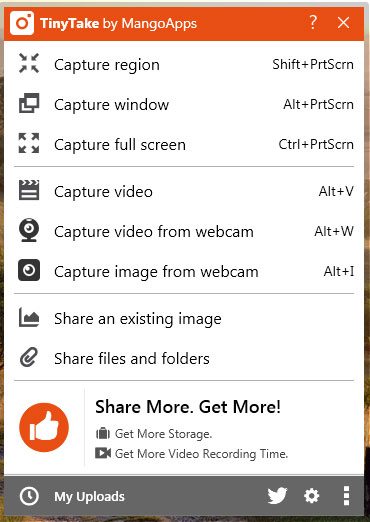
You do have to install TinyTake on your computer directly (Warning: While the installation process was easy, it was a bit on the slow side, to be honest). Once it’s installed, all you have to do is hit ALT+V to record video. You can even capture video from your webcam. It’s nuts.
My favorite part of it is that once you create your free account, you’re given a custom subdomain where they’ll host all your screen captures. Too cool!
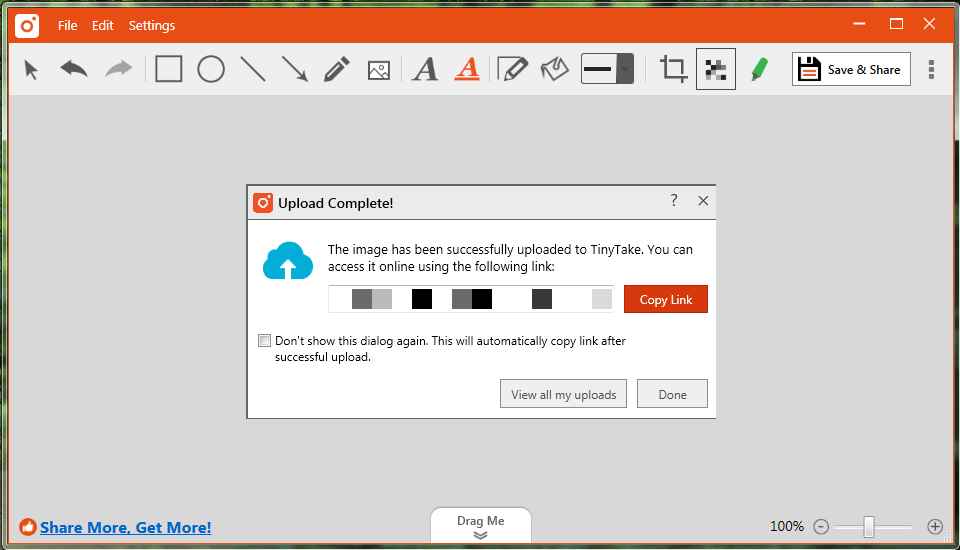
And before you ask, yes. I took a screenshot of a screenshot. Both using TinyTake.
Native Tools
Wondering how I managed to take screenshots of me using screenshot tools? A handy little thing called native screenshot tools!
All Windows and Apple machines have built-in screenshot options for you to use, but they aren’t quite as fancy as some of these browser extensions and apps. You can’t annotate or directly share a link, but you also don’t have to worry about weighing down your computer (or browser) with even more software and extensions.
When using Windows, simply press the “Print Screen” or “PrtSc” key on your keyboard. That’s it! It automatically captures your full desktop screen and copies the image to your clipboard. You will need to paste it into Photoshop or (let’s be honest here) Paint. If you use Dropbox, you can set it up so anytime you “print” your screen, it will save as an image file to your Dropbox account.
When using an Apple computer, you have a few options. Take a screenshot of your full desktop by typing Command+Shift+3. This will automatically save the image file to your desktop. Use Command+Shift+4 to select a section of your desktop to capture. Again, you’ll find the file on your desktop immediate after. Finally, you can take a screenshot of a full, single window on your desktop by using Command+Shift+4, then hitting the Spacebar, and finally clicking on the window you’d like to capture.
Now that you know a few of your options, feel free to play around with these tools and find the one that best suits you!
What screenshot tools have you used in the past?
Thank you ALL for sharing your great tips! I use PrtScn all the time and these suggestions will make life so much easier.
Glad to be of assistance, Jules! Let us know which tool you like the best.
As a follow-up to Deborah’s note about OneNote, with OneNote installed on your computer (and everyone with the MOS Suite has OneNote available for download), you can use WINDOWS(the Windows icon key by the space bar)+S to open a “Snip” tool. With this your can select whatever and wherever you want to copy something, left click and drag to select, and (in the dialog box that opens) choose to either send it to OneNote or copy it to your clipboard. Select clipboard and the clipping is available to post anywhere you want! I use this feature all the time without having to download any apps to my computer or pay for any services. It is great – Thank you Microsoft!
And thank you, Catherine, for the detailed information! I might just have to point people down here to the comments so they can learn from the experts on using the OneNote Snipping Tool.
Catherine and Dinah – just know that if you’re using Windows 8.1, the key command is Windows key + Shift + S. Windows 8 and earlier is the Windows key + S.
Good to know! As operating systems advance, sometimes little things change.
I use the OneNote clipper and I also use Snipping Tool in the Windows…Accessories folder if I want to save the clipped section for use anywhere besides OneNote. The OneNote clipper is great for clipping recipes from sites like Food Network and such, too, since it automatically knows where the recipe is and you don’t have to select anything. Since I have the Samsung Note 4, I can draw around sections of my mobile screen to save as well. As a note on the Print Screen on the PC…if you do Alt+Print Screen, it will only capture the active window.
Thanks for the additional tips, Denise! Especially regarding the OneNote clipper and recipe gathering… Something I may just have to start using myself. ;)
More info at https://blogs.office.com/2014/07/22/lets-get-cooking-collecting-recipes-in-onenote-just-got-better/
Love the additional info. Thanks for sharing the link, Denise!
If you have the Microsoft Office suite, you have OneNote. The screen clipper for OneNote is awesome; if you’re clipping a website, it includes the URL so you can go right back to that page. Once it’s in a notebook, you can search on the page, the specific notebook or your entire OneNote file. I use it to do screen grabs for my blog articles.
That’s super handy, Deborah! It seems a ton of ninjas are using OneNote for a little of everything, and no wonder with how easy it is to use for organization. Would love to get a peek at your blog if you don’t mind sharing. :)
Dinah: Happy to provide a link to the articles I’ve published over the last few year. I have two on OneNote in particular. Would love your feedback!
http://www.synergyonline.com/Blog/Pages/DebbieZotian-Blog.aspx
Thanks, Deborah! I’m looking forward to reading through some of your articles!