Splash: Event Website & Ticketing Made Beautiful in 20 Minutes
A few weeks ago, we told you about an amazing behind-the-scenes tool to help you plan your event: Social Tables. Today, we’re exploring how to best present and promote your event to your customers. The options for ticketing services and creating event sites seem endless; Eventbrite, Evite, Ticketmaster, and Ticketleap are just a few that we’ve turned to in the past. However, many times as office ninjas we’re in need of a tool to create beautiful landing pages AND handle the heavy lifting of managing registration for a free or paid ticketed event. That’s where Splash comes in.
Whether you’re planning a large conference or small company outing, Splash is a one-stop shop for creating gorgeous yet functional event sites. It handles ticketing, check-ins, and attendee engagement – all while providing you with a plethora of design options. With so many other things on your plate, Splash is the site to add to your ninja toolbox to get an event off the ground in twenty minutes or less. Ready, set, go!
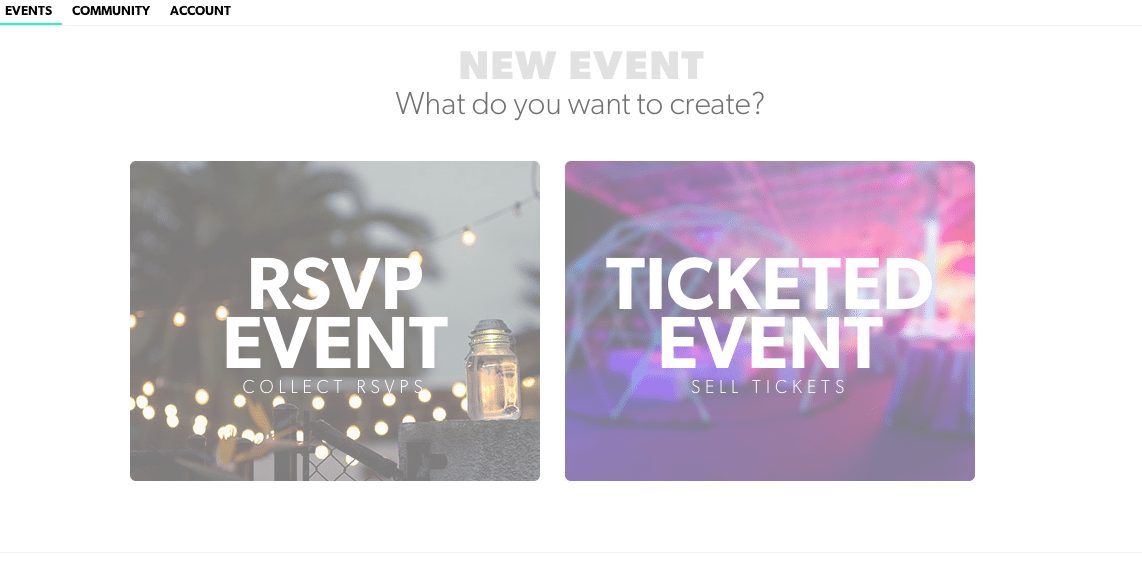
Once you sign up, you’re given the option of setting up an RSVP or a ticketed event.
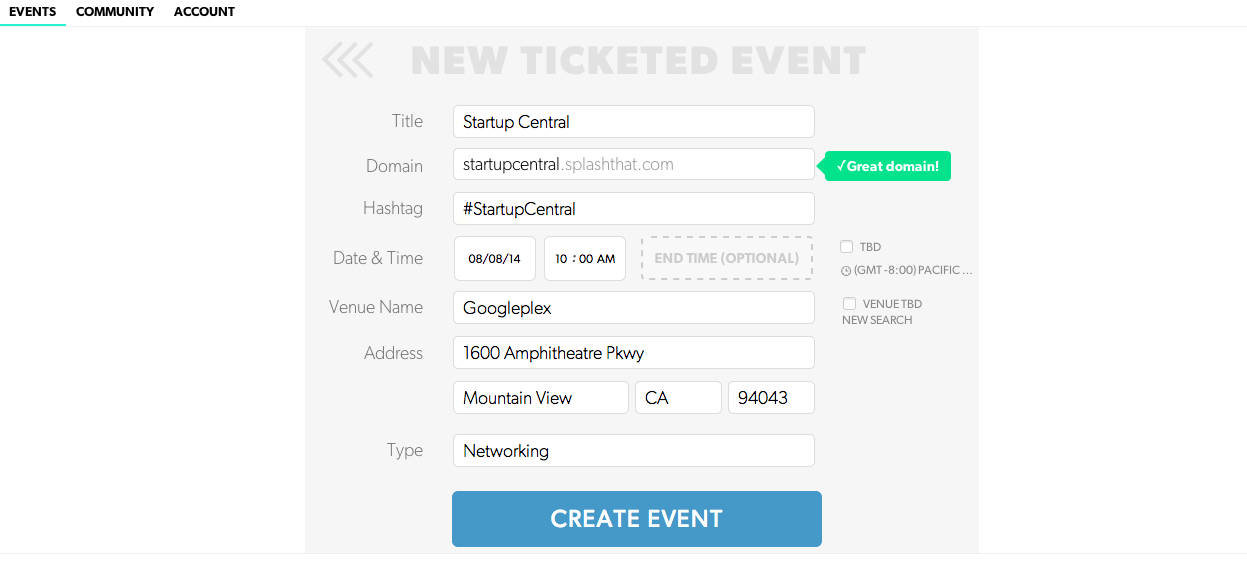
First, I created a ticketed event to see how their interface compares to some of the other ticketing services. After entering in information about your event such as time, date and location, you’re ready to go. Splash takes care of a lot of the details for you, so you don’t have to worry about some of the little aspects of planning your event. For example, they automatically created a hashtag for my event and suggested a unique URL for the event landing page (see below).
Below you can see the event page I created in under two minutes with minimal effort – the page already looks amazing. Note that the subheader was created by Splash; this saved me the headache of trying to come up with a catchy title or description. Of course, everything can be edited to your liking.
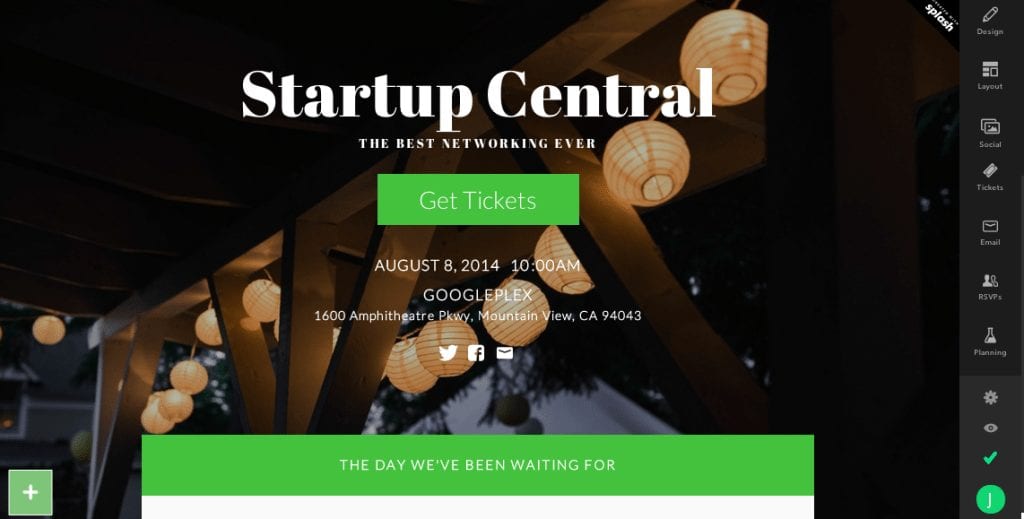
The navigation bar on the right side is clean and simple to use. You can change the background image, edit the text size and font, and enter in ticket information. Splash also suggests adding social links to your landing page, something other services frequently overlook.
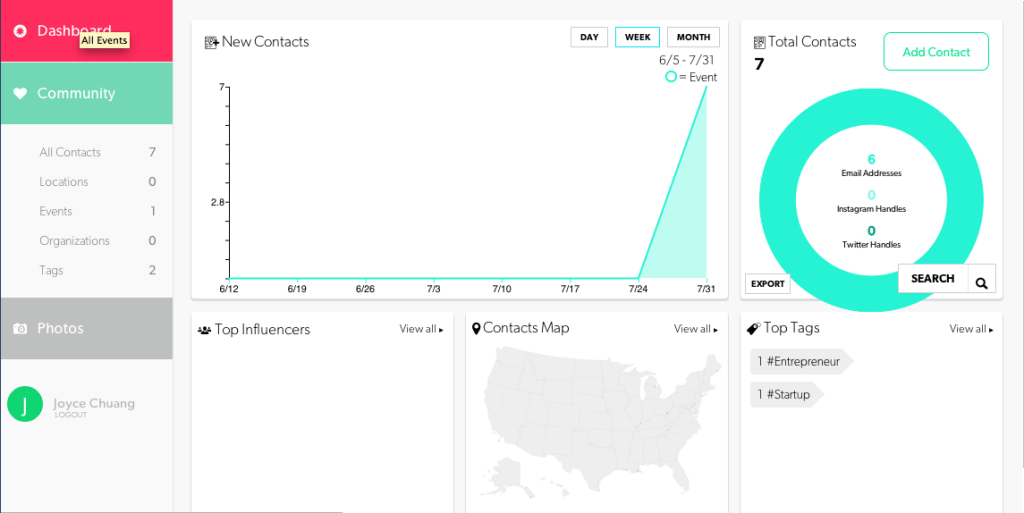
Use your event page as a landing page by branding it with your company’s name and linking to your social media channels. You can also associate tags to contacts making it easier for you to filter later on and create multiple lists for the event. Here’s a look at what your dashboard looks like:
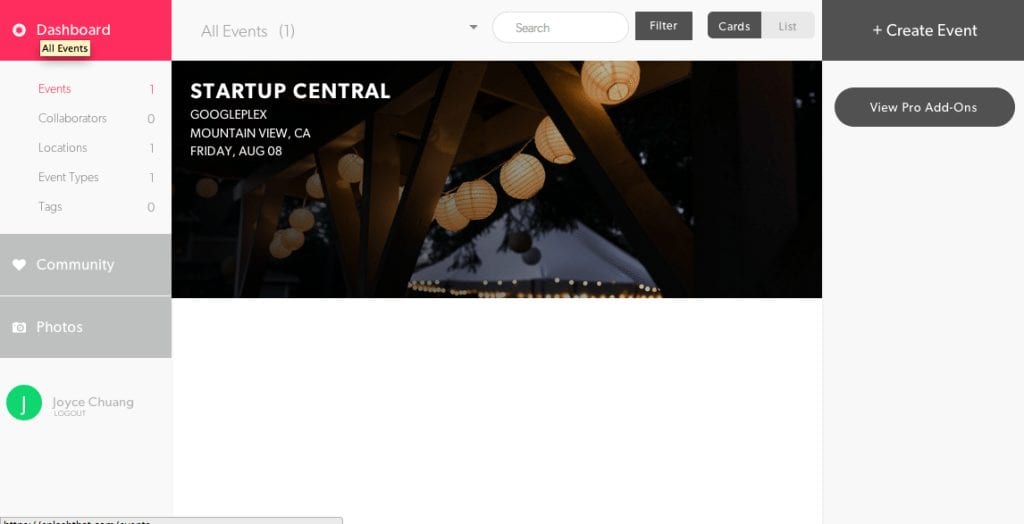
A quick look at your community tab and you can see all activity for your event (I imagine this to be a bit more robust once an event goes live).
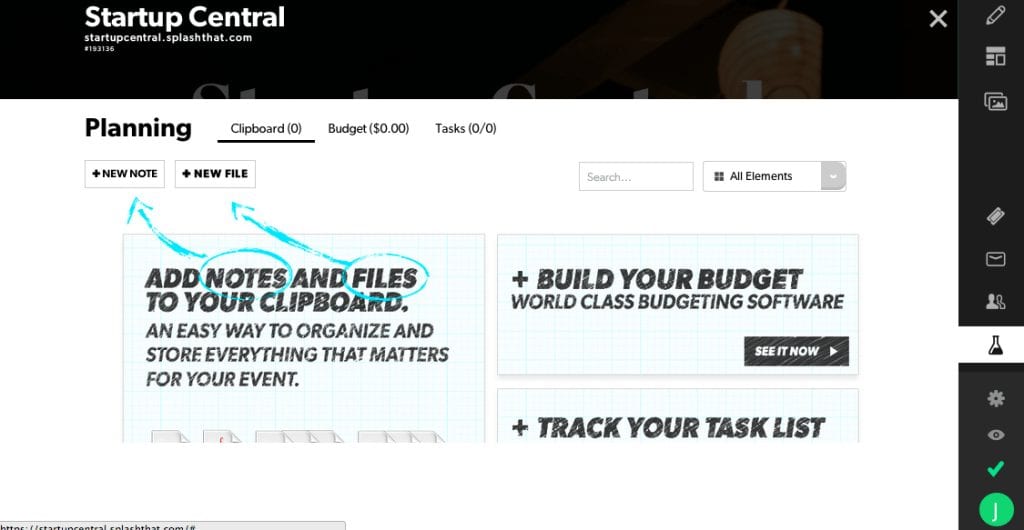
Another wonderful feature from Splash is the ability to use it as a planning tool. You can add notes, build a budget, and create task lists, eliminating the need for the multiple spreadsheets we know you usually have going when planning an event.
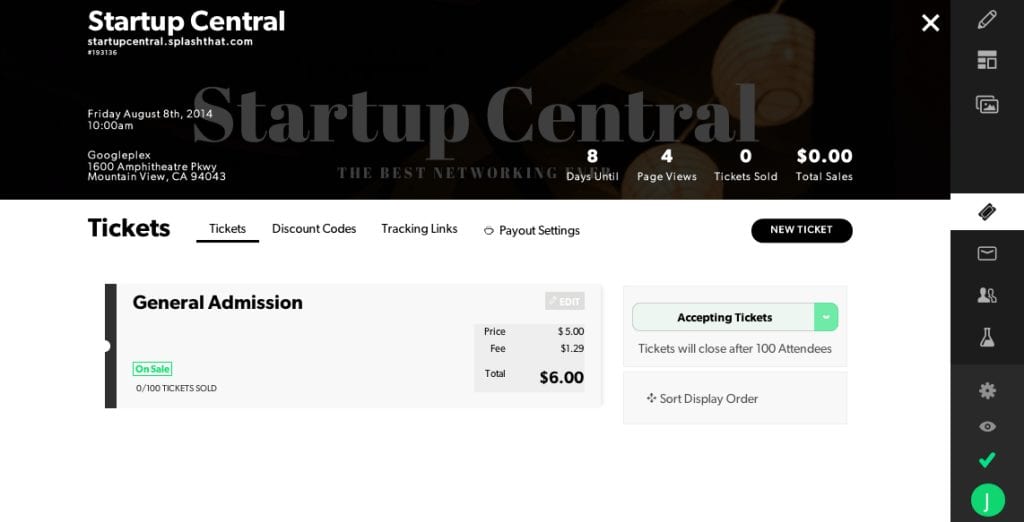
Ticket setup is painless and easy. You can create multiple ticket types for your event, discount codes, and track links.
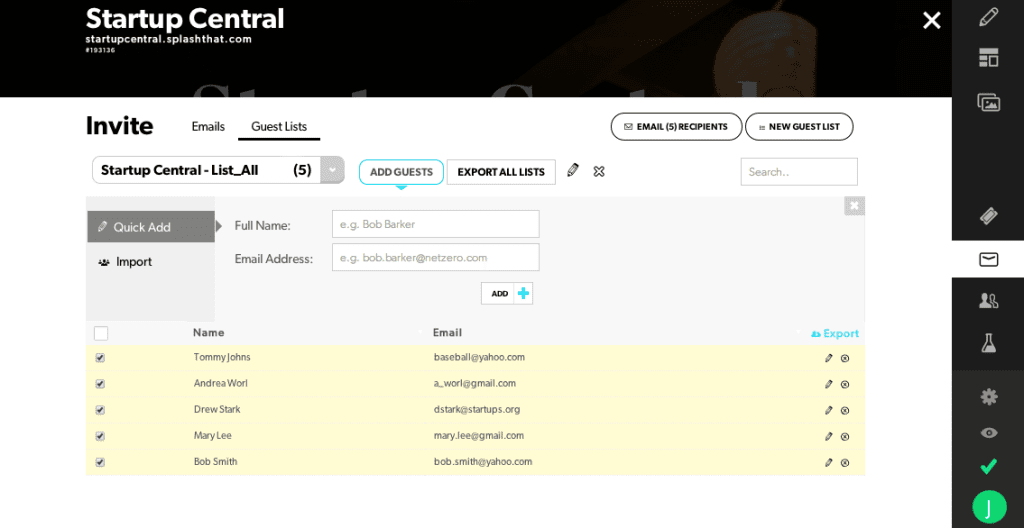
And import or individually add contacts for your event that allows you to quickly invite all of your potential guests in one click.
The entire process took me less than 20 minutes and just like that, I had a beautiful event site. Sign up for a free Splash account to see how easy creating professional, pretty event landing pages can be.
What are some of your favorite event or ticketing tools?
