CanvasPop for Office Walls that Really POP!

Art in the office shows that “management cares enough about the employee experience – and the customer experience – to have a thoughtfully maintained facility that people feel good about working in”, says Forbes Magazine.
I couldn’t agree more. There is absolutely nothing more life sucking than walking into a gray office, with gray desks, and blank walls. Minimalists and fans of monochromatism may put up an argument, but speaking for the rest of us, I place a lot of value in a business that takes the time to bring some color into the office space.
However, this is easier said than done. It isn’t the 90’s; the office deserves more quality than a rolled out poster of a bicycle leaning against a pole in Paris. An office can only have so many motivational posters and fortunately, there are options that extend beyond the stock paintings from the nearest home decor store.
CanvasPop is one such option. They’ve been providing custom canvas photo-prints since 2009, so I decided to trust them with immortalizing my favorite photo from my trip to Niagara Falls on canvas. With that being said…
Let’s Get Popping!
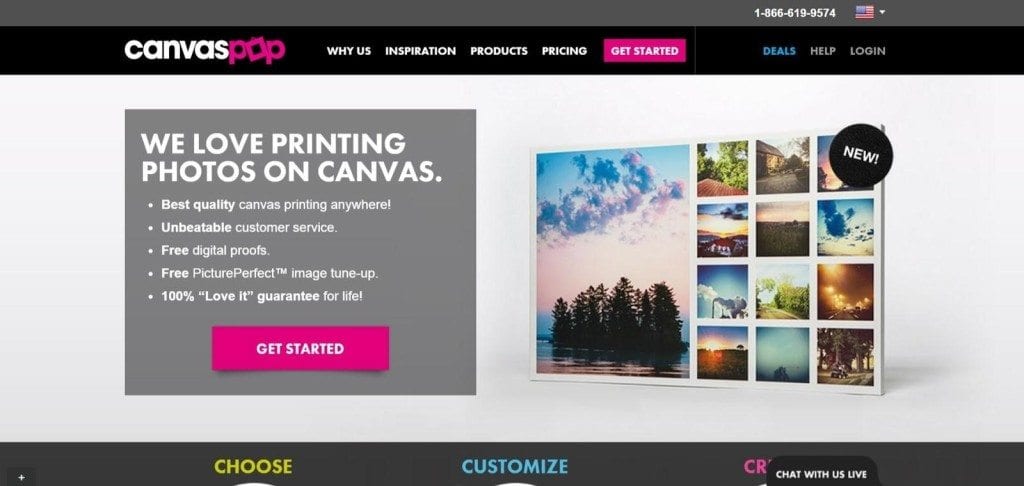
The opening screen sets the stage for how easy it is to use CanvasPop’s website. In a nutshell:
They offer handcrafted, high-quality canvas photo prints with free Picture Perfect™ photo editing, and they email you a free digital print of the final result to ensure your satisfaction.
Step 1: Select Your Product
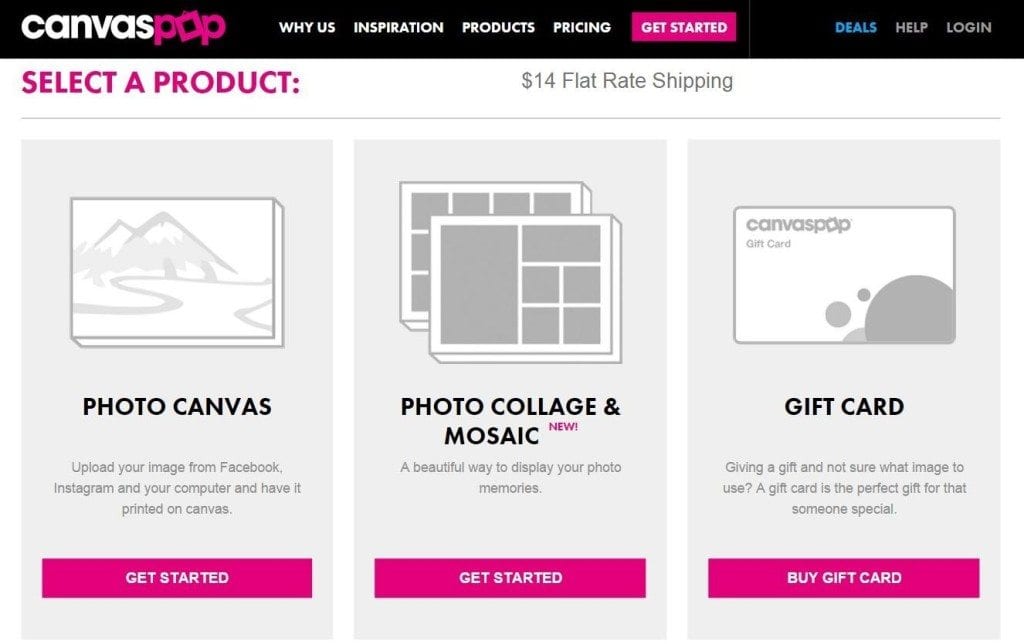
Getting started was simple enough. The button to “Get Started” was bright neon pink, after all. I explored what the options were for both the single Photo Canvas or Photo Collage & Mosaic, but I decided that I wanted one awesome shot of Niagara Falls.
The Photo Collage & Mosaic option is ideal for offices who want to show off their employees, achievements or products in the main lobby or waiting room. Get inspired by taking a look at the artwork created by their customers.
Step 2: Select Your Images
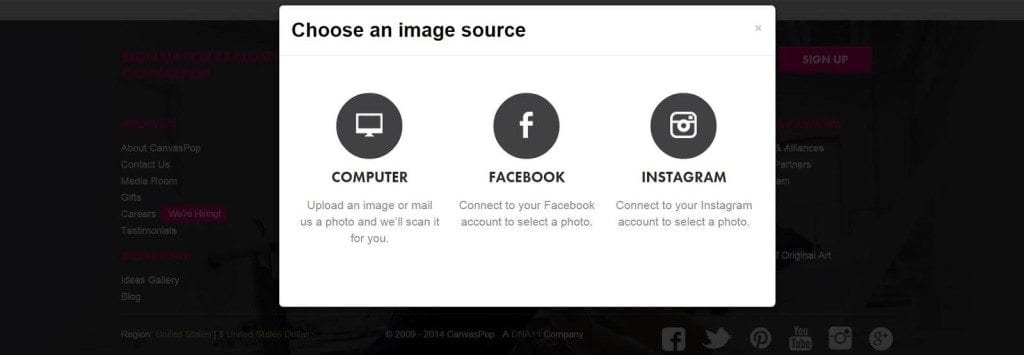
After you select the type of canvas you want, you can choose your image source from your computer, Facebook, or Instagram. I must confess that I am not nearly as photo-crafty as many of my peers, so I had to rely on my boyfriend’s shot of Niagara Falls from my hard drive.
Step 3: Decide How Much of the Wall You Want to Cover
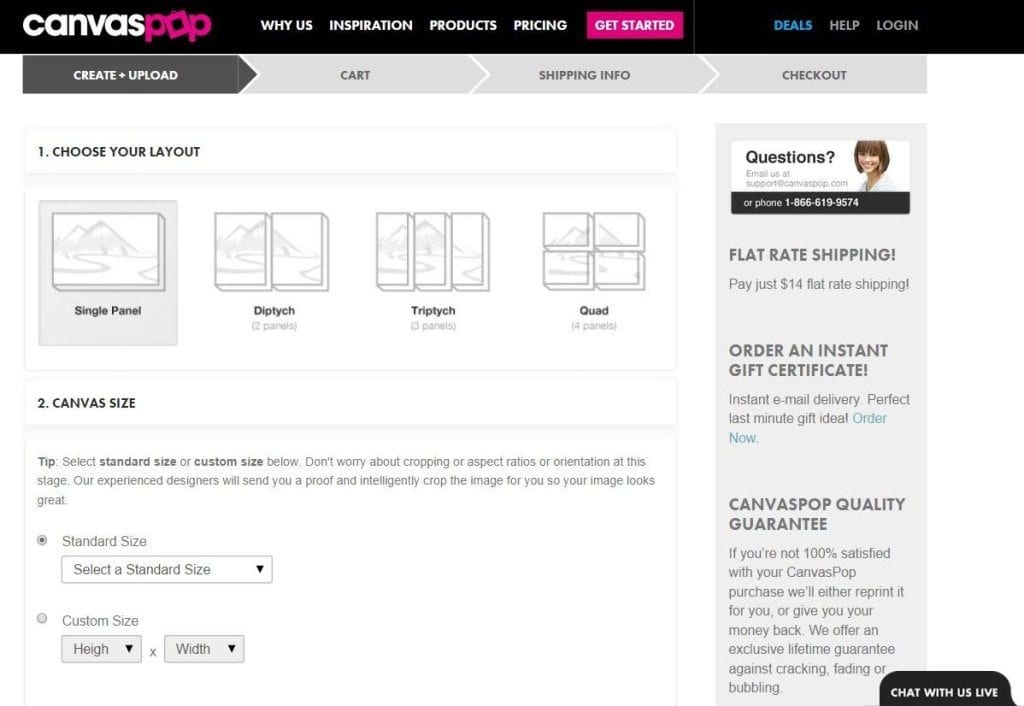
I’m not going to hide it: I was absolutely DYING to try the triptych, aka three panels of wonder. However, I don’t have a lot of wall to cover, so I showed self restraint and opted for the 16”x20” single panel. Sizes range from a desk-friendly 8”x10” panel (the size of your notebook) to an attention-grabbing 24”x72” panel (the length of a couch).
Step 4: Decide How Much POP You Need
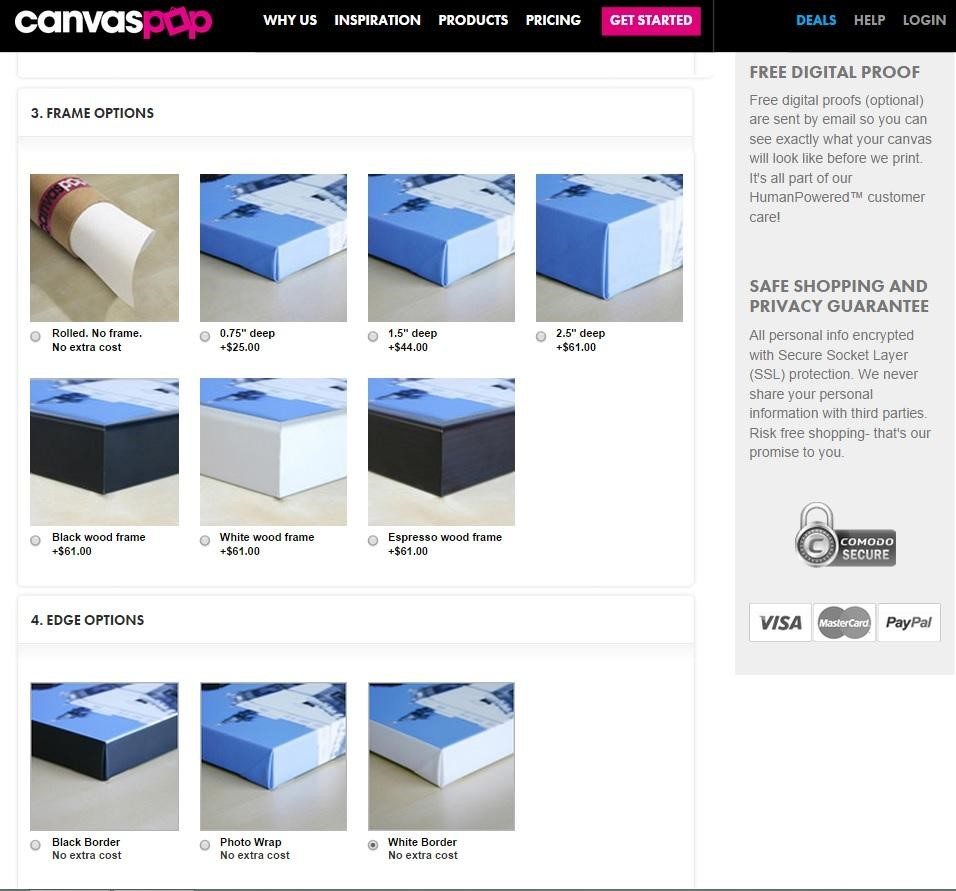
At this point, things started to get interesting. As a self-proclaimed “frugal master,” I almost selected the “Rolled. No frame” option. Fortunately, CanvasPop premeditated that move and warned me via pop-up that I would have to stretch it and frame it myself if it came rolled. They literally saved me from myself, and I would recommend anyone who uses this service to pay the extra $25.00 to have them frame the canvas for you on a modest .75” frame. Unless, of course, you happen to be the resident ninja for a professional canvas framing company.
The edge options come at no extra cost. The palette of my Niagara Falls waterfall is green, blue, white, and earth colored, so I chose a white border to complement it. (Proving that I’m not completely decor clueless).
Step 5: Select Your Photo
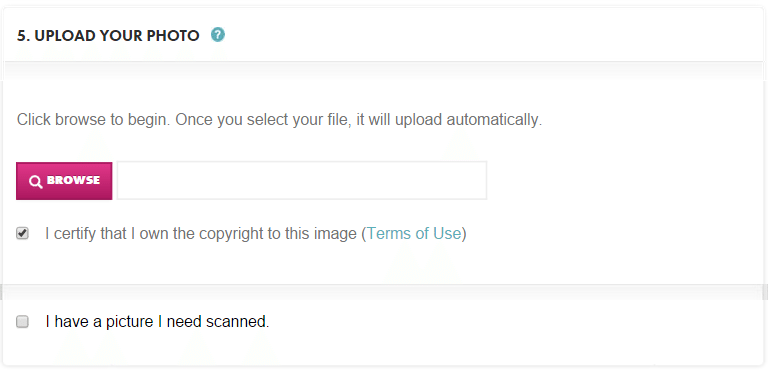
At this point, you will either be asked to upload your photo, or link your Facebook or Instagram account to let CanvasPop access your photos. I tried all three methods, and everything worked smoothly. In fact, if you happen to select a low resolution photo, they have a way to help you ensure a perfect canvas. You will see an “Effect Options” panel that defaults the “Digital Smooth” effect for free. If you’re feeling artsy, you can select one of the filter options for an additional fee.
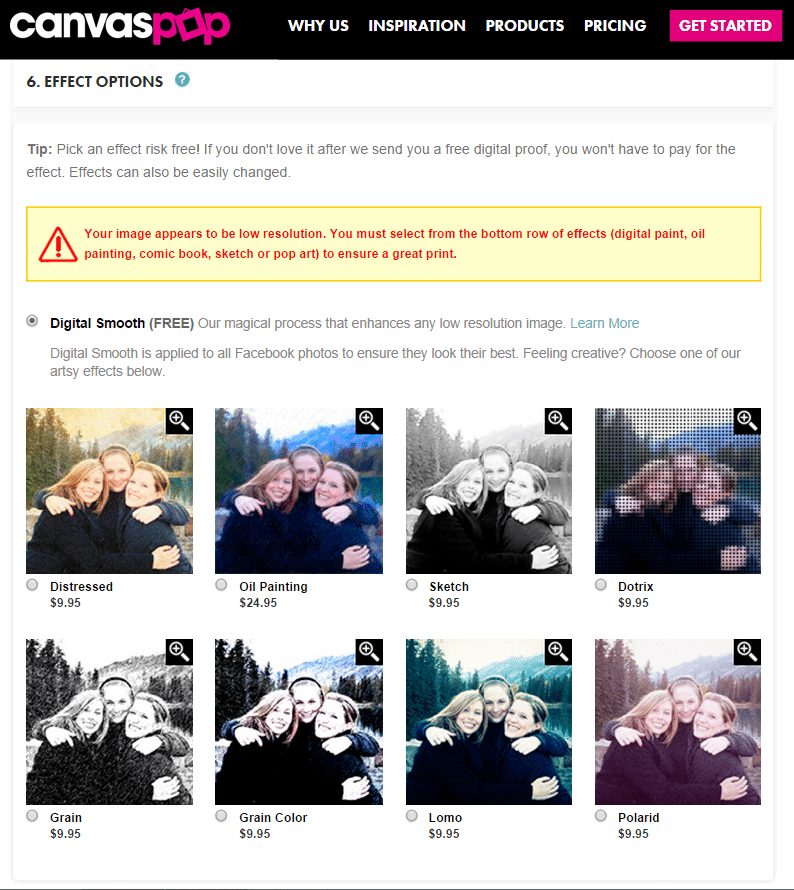
Once you complete your order, the awesome people at CanvasPop will send you a free digital print, showing your chosen effect in action. If you absolutely hate it (or generally dislike it), they will remove or change the effect without any extra fee before creating the final print.
Step 6: Confirm Final Touches
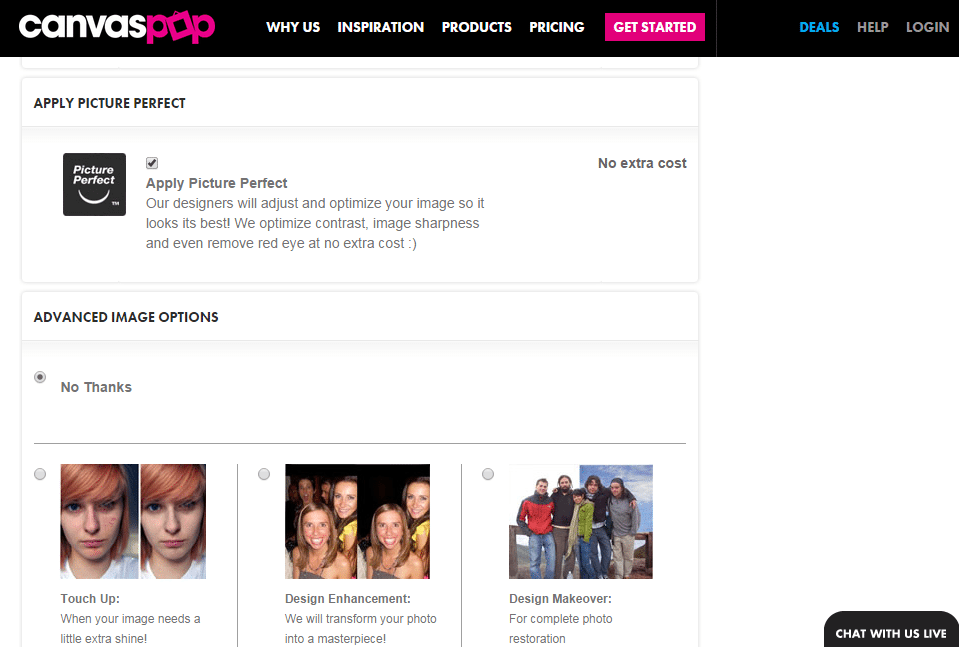
Almost feeling like a real painter, I reached the last bit of image options. At no extra cost, CanvasPop offers their trademarked Picture Perfect™ photo retouching service. Additional options include:
- Touch Up: Similar to the godsend touch ups that removed your pimples from Graduation photos
- Design Enhancement: Removing miscellaneous objects like buses, ex-employees, or photobombing birds.
- Design Makeover: Complete photo restoration, perfect for those pre-digital, “old fashioned” photo prints.
Below the advanced options, you have a free-text box to outline your specific design details.
For example: “Hi CanvasPop! This photo canvas will be on display in the company lobby, but there’s an obnoxious ex-employee in the background on the right. May we trouble you to remove them from the photo? Also, please give the company CEO, the one on the far left, a little digital facelift. Thanks!”
Step 7: Get Your Free Digital Proofs… Because They’re Free!
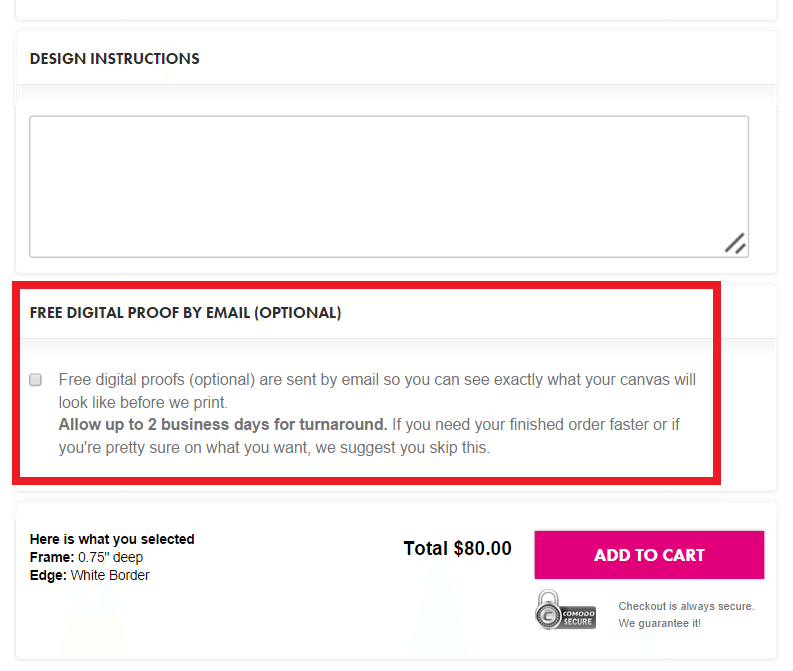
In my excitement, I almost missed this section, so I highlighted it in the screenshot. Even though you may feel confident about the changes you are asking for, I find that tempting fate is like an invitation to disappointment. Even though CanvasPop ensures your satisfaction with the final product, as office ninjas, we know better. We double-check EVERYTHING, and your digital double-check with CanvasPop is free.
Step 8: Confirm Your Cart
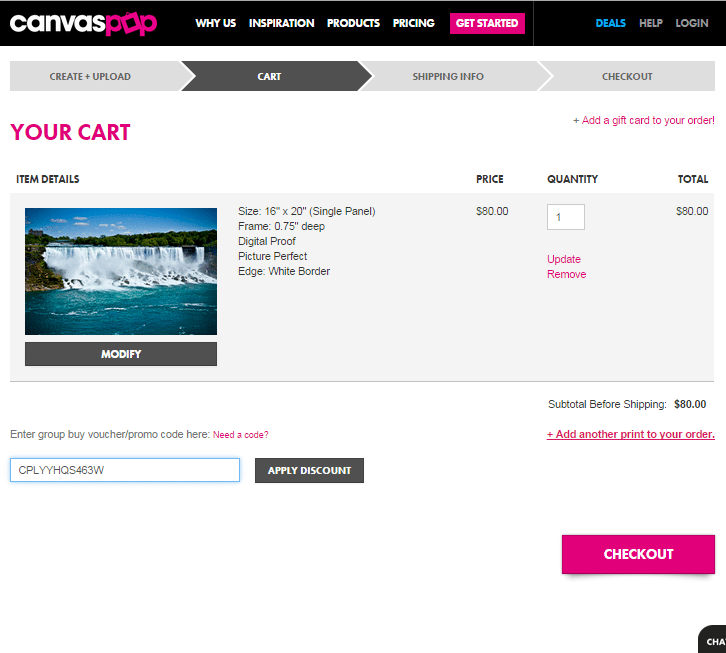
From here, everything is pretty standard protocol for online ordering. I recommend creating an account with them because they promise to send you discount coupons for next time (because there will be a next time…).
Step 9: Wait for Digital Prints
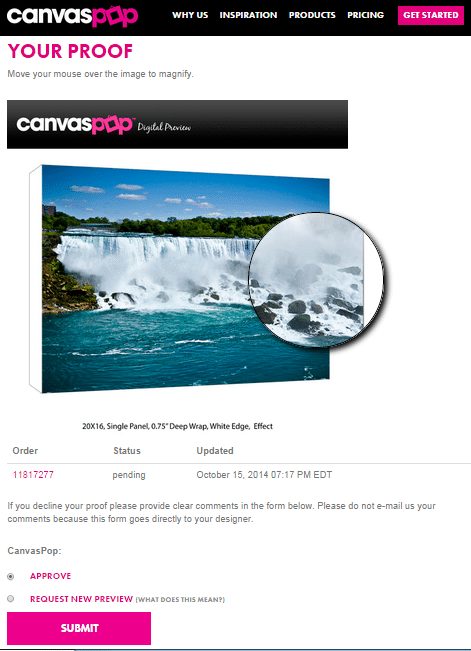
I placed my order on Tuesday, and my digital proof was ready by Wednesday. I played with the magnifying glass for a little bit, and I am more than a little bit impressed by the amount of eye-popping detail that is going to be on the final canvas. I have to wait how long for it again?
Step 10: Open the Box and …
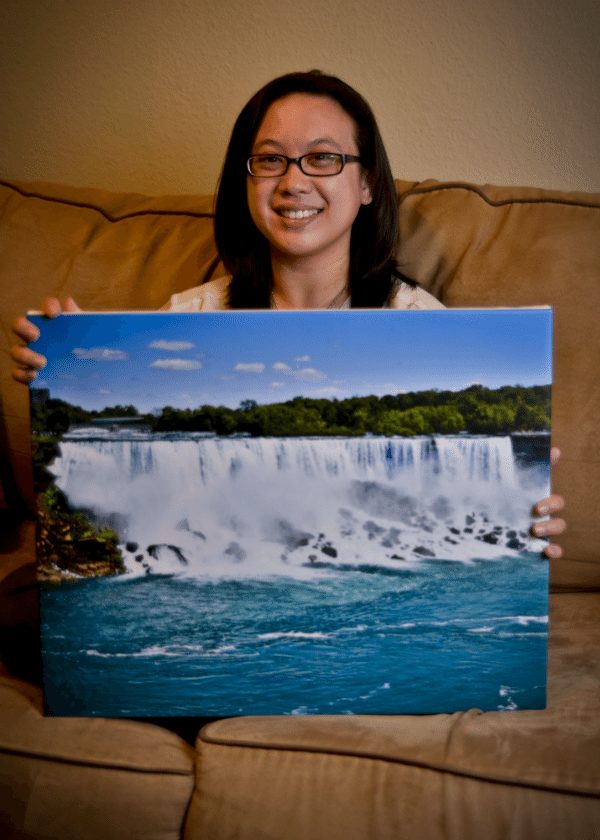
… Squeee! That onomatopoeia is exactly the sound I made when I opened my CanvasPop box, and I think the dogs downstairs might still be annoyed at me for it. After about a week of tracking my package on FedEx, I’m finally holding my new wall swag. The canvas is thick, and the ink is so vibrant I feel like I should be feeling some Niagara spray when I stand in front of it. As promised, this piece radiates quality, and I can’t wait for the next time- I’m already clearing a spot on my desk for a canvas of a red panda!
To sum up my experience in as few words as possible: freaky fast and amazing customer service, quick delivery, and an overall great final product. I’m happy.
Have YOU Tried CanvasPop Yet? Add a POP of color, class, and customization to your walls with CanvasPop. The hardest part is deciding which photos to immortalize! Once you’ve tried it, share your experience and canvas in the comments below.